The hard drive is located in the bottom right corner of the lower part of the chassis. Just unscrew the four screws holding it in place, unplug the SATA cable connecting the hard drive to the main board, and the hard drive is removed.
How do I check my hard drive on my Sony VAIO laptop?
How to run hardware diagnostics using the VAIO Care version 8 software.
- Press the Assist button on the computer.
- VAIO Care™ utility will launch the Troubleshooting utility.
- Click Advanced Tools.
- Click Diagnostics.
- Choose the desired test.
- Click either Hard disk drive – quick test or the Hard disk drive – extensive test.
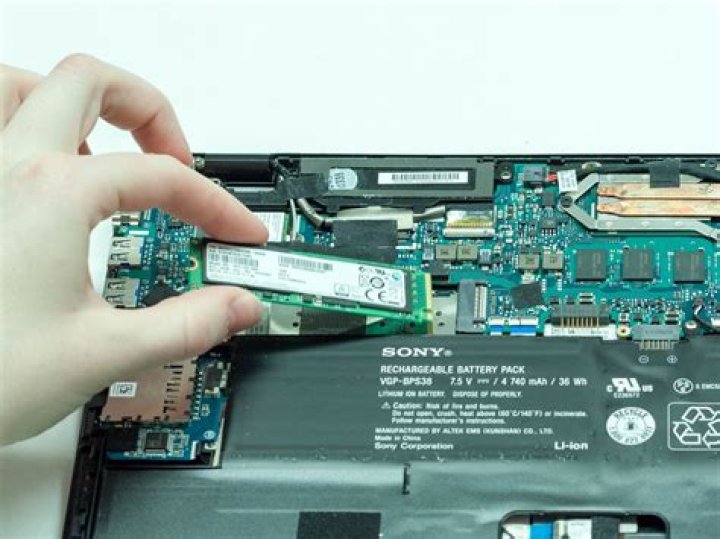
Can I upgrade Sony VAIO to SSD?
Most* of the VAIO notebooks produced since 2006 come with an 2.5″ SATA hard disk drive and can be upgraded with retail SSDs using this form factor.
How do I install a new hard drive in my Sony Vaio laptop?
Shut down Sony VAIO and remove the battery. Remove 2 screws on each side and slide out HDD cover carefully. Then remove 2 more screws of HDD case and slide the case to the left. Finally, lift the HDD with its caddy out and free up the HDD.
Can Sony VAIO be upgraded?
All the RAM Memory, SSDs and accessories needed to upgrade your Sony laptop. The entire range of Vaio laptop upgrades can be found here. Just start with the “select a series” box on the left and the configurator will direct you to the correct RAM memory, SSDs and accessories for your model every time.
How do I open my Sony Vaio PCG?
Step 1 Sony Vaio PCG-6J2L Teardown
- Turn the laptop upside down.
- Locate the battery.
- Unlock the battery by shifting the ‘lock’ slide to the ‘unlock’ position on the underside and back of the system.
- Hold the release on the right side and remove the battery out carefully.